How to REALLY Store Outgrown Kid & Baby Clothes
Baby clothes multiply fast. One season passes, and suddenly you’re holding a pile of tiny onesies and footed pajamas that fit perfectly three months ago and now look like doll clothes. If you plan to use them again for a second child, pass them on, or sell them later, how you store them now determines whether they come out of storage wearable or wrecked.
Most parents shove everything into a garbage bag and toss it in a closet. That approach costs you money and sentiment. Here is how to do it right.
Step One: Sort and Cull Before You Store Anything
Storage done well starts before you touch a single bin. Pull everything out and sort by size first, then by condition. Be ruthless. A onesie with a set-in formula stain or a stretched-out neckline is a candidate for the rag pile, full stop. Storing damaged items wastes space and sets you up for disappointment later.
As you sort, check every item for stains you might have missed at laundry time. Heat from the dryer can set stains permanently, so if something looks borderline, treat it now before storage locks in the damage forever.
Sort into three piles:
- Keep for future use (good condition, sentimental value)
- Donate or pass along (clean, wearable, but you have no attachment)
- Discard (stained, stretched, missing snaps, pilling beyond recovery)
This cull step takes 30 to 45 minutes and saves you hours of frustration when you unpack later.
Step Two: Wash Everything Before It Goes In
This one surprises people. Yes, even if the clothes look clean. Body oils, invisible milk residue, and faint food traces oxidize over time and turn into brown stains that are nearly impossible to remove after months in storage. Wash everything on a regular cycle with a gentle detergent, skip the fabric softener (it degrades fabric over time), and dry completely before packing.
Partially damp clothes in a sealed bin breed mold. A single damp item can ruin an entire box of otherwise perfect pieces. Check the seams, the waistbands, and the feet of footed sleepers because those areas hold moisture longest.
Step Three: Choose the Right Containers
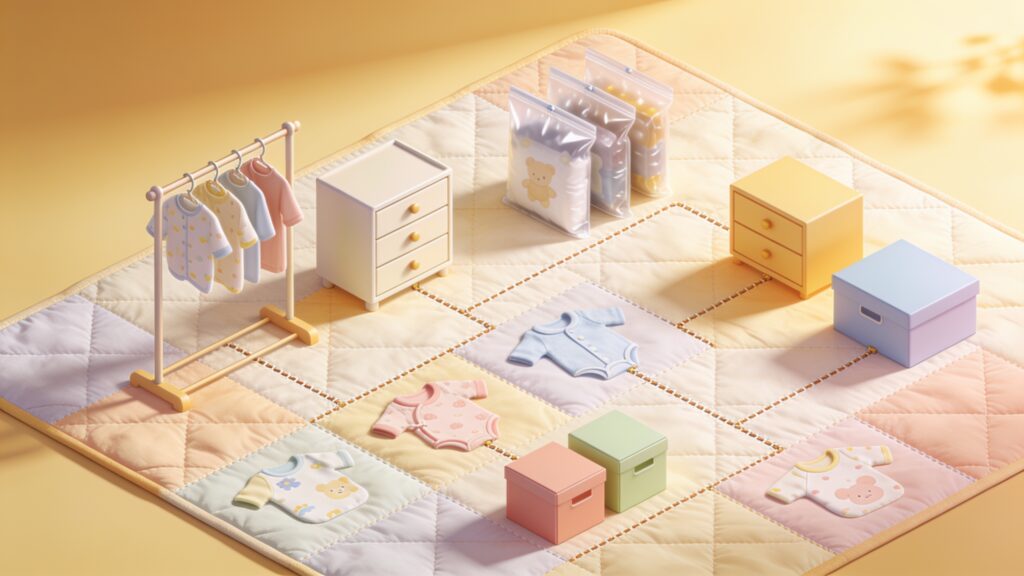
This is where most parents go wrong. Plastic garbage bags trap moisture and compress delicate fabrics. Cardboard boxes attract pests and absorb humidity. The right choice depends on your storage environment.
| Container Type | Best For | Watch Out For |
|---|---|---|
| Hard-sided plastic bins with lids | Long-term storage in garages or basements | Condensation if moved between temperatures |
| Vacuum storage bags | Saving space, short-term storage | Compression damage to knitwear over years |
| Fabric storage bins | Closet or bedroom storage | Offer no pest or moisture protection |
| Cedar-lined wooden boxes | Keepsakes and delicate items | Moisture control still needed |
My personal recommendation is clear, hard-sided plastic bins in the 15 to 25 liter range. Clear bins let you see the contents without opening every box. Hard sides protect the clothes from compression. Lids with a snap or clip seal keep out dust and insects.
Label every bin on the side, not the top, because bins stack and you will read the side label when they are stacked four high in a closet.
Step Four: Pack Smart Inside the Bin
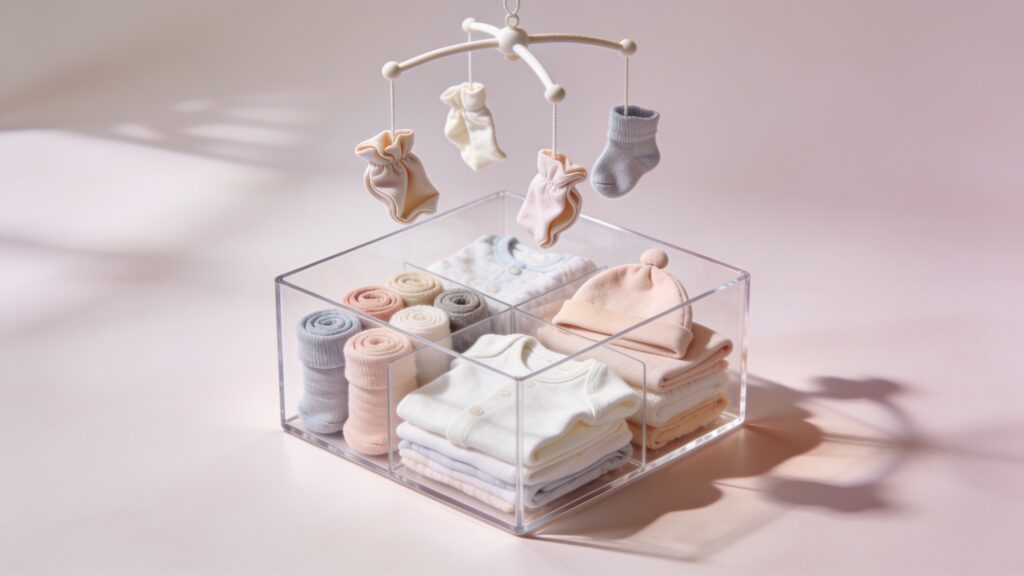
Fold clothes flat and group by size. Use small resealable bags inside the bin to sub-group by type: sleepers in one bag, bodysuits in another. This makes unpacking surgical instead of chaotic.
Add a sheet of acid-free tissue paper between layers if you are storing anything with sentimental value, like a coming-home outfit or a hand-knit sweater. Regular tissue and newspaper contain acids that yellow fabric over time. Acid-free paper is a few dollars at a craft store and worth every cent.
Tuck a cedar block or a couple of dried lavender sachets into the bin. Both repel moths without the chemical residue of mothballs. Mothballs leave a smell that takes weeks to wash out and contain chemicals you likely prefer away from infant clothing.
Step Five: Control the Storage Environment
The clothes themselves matter, but the environment matters equally. The three enemies of stored fabric are heat, humidity, and light.
Attics get extremely hot in summer, and that heat degrades elastic and causes yellowing. Basements often run humid, which invites mold and mildew. A climate-controlled interior closet is the gold standard. If the only option is a basement, elevate the bins off the floor on a shelf or pallet to keep them away from any ground moisture.
Ideal storage conditions sit at a stable temperature below 75 degrees Fahrenheit and a relative humidity between 30 and 50 percent. A cheap hygrometer (under $10 at any hardware store) tells you what your storage space actually reads.
Keep bins away from exterior walls in winter. Condensation forms on those walls when cold outside air meets warm indoor air, and bins sitting against them wick that moisture.
Step Six: Maintain a Simple Inventory
Write a contents list on a piece of paper taped inside the lid of each bin. Include the size range, the season, and a rough count of items. When the next child arrives or a friend asks about hand-me-downs, you can locate what you need in two minutes instead of opening every bin in the garage.
A simple spreadsheet on your phone works even better. Photograph each bin’s contents before sealing it. That photo log takes five minutes now and saves real time later.
Key Takeaways
- Cull damaged items before storage, because storing problems preserves them.
- Wash everything, even items that look clean, to prevent oxidation stains.
- Use clear, hard-sided plastic bins with snapping lids for long-term storage.
- Label bins on the side, pack by size, and use cedar or lavender to repel moths.
- Store in a climate-controlled space and keep bins off the floor and away from exterior walls.
- Document bin contents with a photo or written list the day you seal them.
Do this once, do it correctly, and those tiny clothes come out of storage months or years later looking exactly as you remember them.